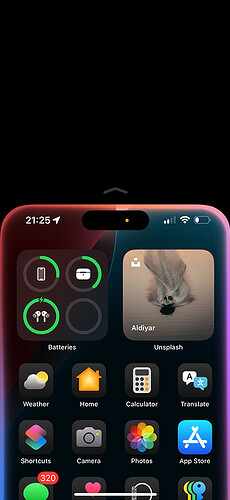
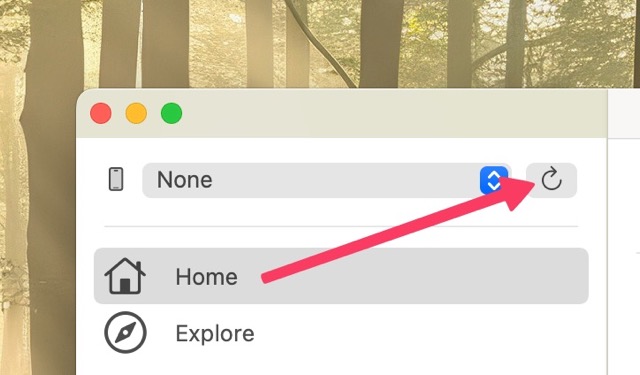
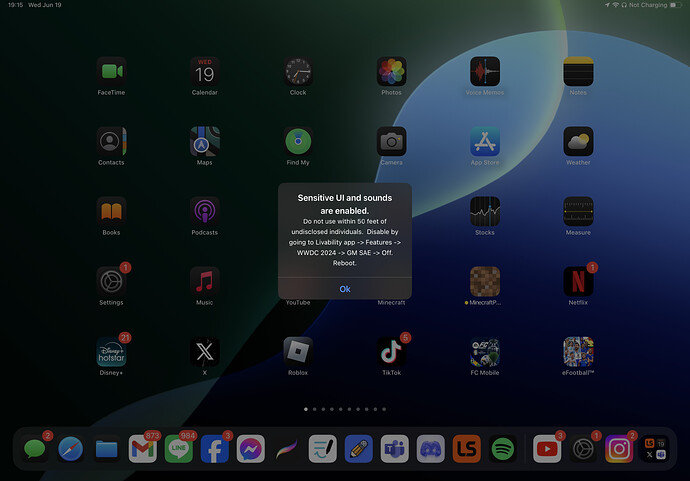
Updated on September 20, 2024: How to Enable Apple Intelligence (New Siri UI) on All Devices [Tested on iOS 18.1 Beta 4 →]
If you have an iPhone 15 Pro, iPhone 15 Pro Max, or an iPad/Mac with an M1 chip or newer, you can enable Apple Intelligence and the New Siri UI by updating to iOS 18.1 Beta, iPadOS 18.1 Beta, or macOS 15.1 Beta or later.
Updated on June 24, 2024: Apple has fixed it in iOS 18 Beta 2, so after updating, you will see the old Siri instead and the method below will not apply when you are running iOS 18 Beta 2.
You’ve probably seen posts sharing about the new Siri UI in iOS 18 on X, Threads, etc., but iOS 18 Developer Beta 1 currently hasn’t added any new features related to Siri.
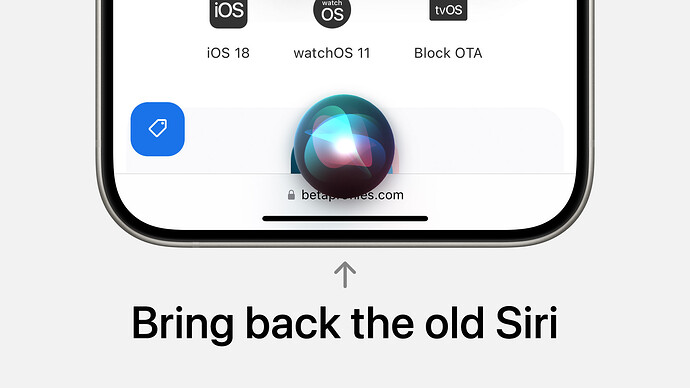
Good news! You can experience the new Siri user interface early with a few tips below.
![]() To clarify, this only activates the new Siri user interface; features related to Apple Intelligence will not work at this time.
To clarify, this only activates the new Siri user interface; features related to Apple Intelligence will not work at this time.
The new Siri UI works with all iPhones and iPads running iOS 18/iPadOS 18 Developer Beta 1. However, only devices with M1 or A17 Pro chips and above will utilize Apple Intelligence features when they are released.
While you can apply the same to the iPad, I do not recommend doing so as it is not yet optimized for the iPad. In addition, some users report the same issue with the iPhone mini, so do not try it on these devices.
Before You Begin
- You should back up your device using iTunes or Finder before performing any of the steps below. Your data is invaluable, and I will not be responsible if you do not back up your device.
- Temporarily turn off Find My iPhone/iPad in Settings [your Apple ID] - Find My - Find My iPhone or iPad.
- You will need a Mac or Windows PC.
Enable New Siri UI on iPhone
For Mac
-
Download and install Cowabunga Lite for Mac (you can easily find it on Google).
-
Connect your device via USB cable.
-
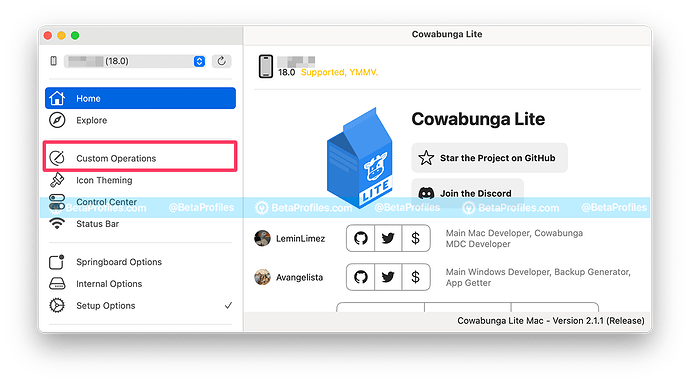
Open Cowabunga Lite and click on the Custom Operation tab in the left column.
-
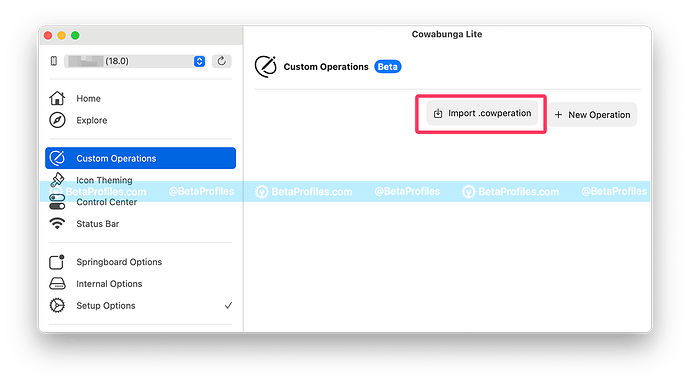
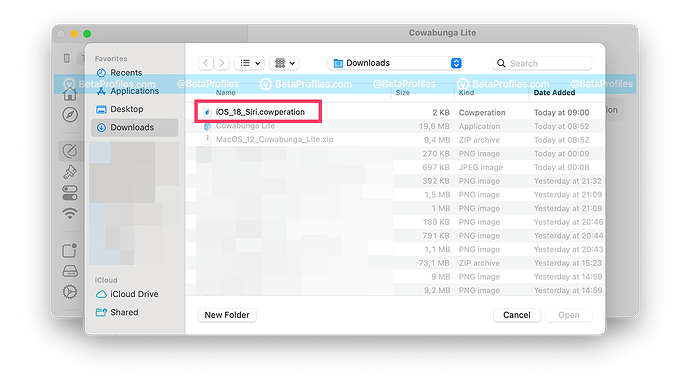
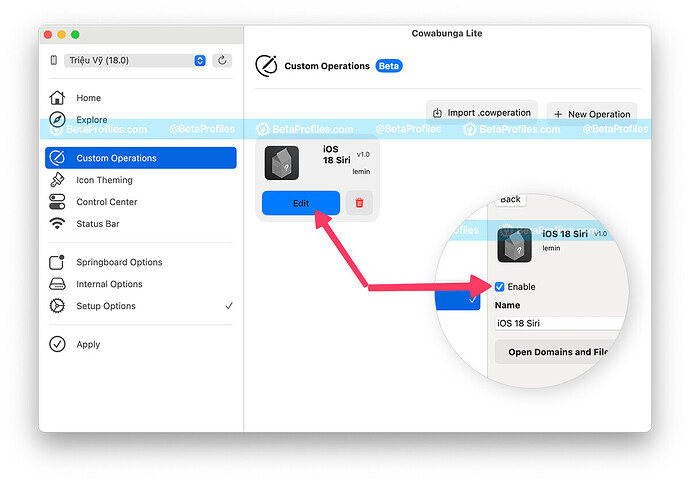
Click the Import .cowperation button, select the iOS_18_Siri.cowperation file (download here).
-
Click on the Edit button, ensure that the Enable option is checked.
-
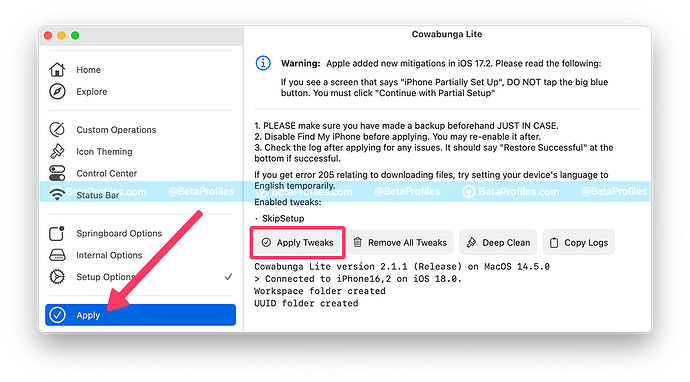
Back to Cowabunga Lite, click on the Apply tab in the left column, then click the Apply Tweaks button.
This process may take a while. Your device will restart, and you will see the Setup screen.
![]() If you see a screen that says “iPhone Partially Set Up”, DO NOT tap the big blue button. You must tap on “Continue with Partial Setup” and your data will be fine.
If you see a screen that says “iPhone Partially Set Up”, DO NOT tap the big blue button. You must tap on “Continue with Partial Setup” and your data will be fine.
For Windows
- Download and install Cowabunga Lite for Windows (you can easily find it on Google).
- Connect your device via USB cable.
- Open Cowabunga Lite and ensure the SkipSetup option is selected in the Setup Options tab.
- In File Explorer, go to
%APPDATA%/CowabungaLite/Workspace(or paste the path into the Run app), find your UUID, then go toSkipSetup/ManagedPreferencesDomain/mobile. - Add the plist file (download here) to that folder.
- Back to Cowabunga Lite, click on the Apply tab in the left column, then click the Apply Tweaks button.
This process may take a while. Your device will restart, and you will see the Setup screen.
![]() If you see a screen that says “iPhone Partially Set Up”, DO NOT tap the big blue button. You must tap on “Continue with Partial Setup” and your data will be fine.
If you see a screen that says “iPhone Partially Set Up”, DO NOT tap the big blue button. You must tap on “Continue with Partial Setup” and your data will be fine.
Special thanks to @LeminLimez, who created the Cowabunga Lite tool and discovered this trick.
Remove New Siri UI on iPhone
To remove the new Siri UI and bring back the old Siri UI, simply follow the same steps as above, but use these files below instead.
- File to remove new Siri for Mac: [Download link]
- File to remove new Siri for Windows: [Download link]
Enable New Siri UI on Mac with macOS Sequoia Beta 1
-
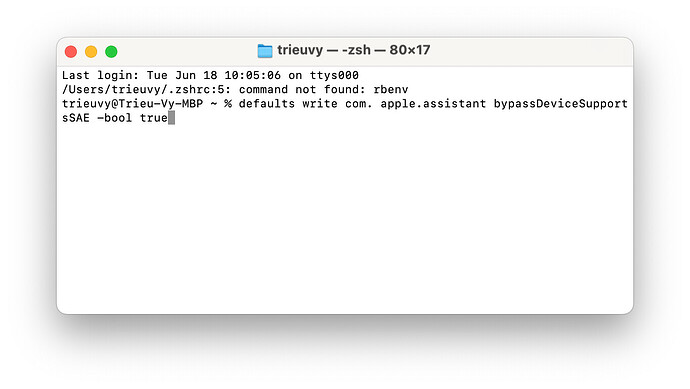
Open Terminal.
-
Enter the following commands one by one, pressing return after each one.
defaults write com.apple.assistant bypassDeviceSupportsSAE -bool true
and
killall Siri
-
Reboot your Mac after to see the new Siri icon in your menu bar.
How to Remove New Siri UI on Mac
To revert to the old Siri, please follow these steps:
- Open Terminal.
- Enter the following commands one by one, pressing return after each one.
defaults write com.apple.assistant bypassDeviceSupportsSAE -bool false
and
killall Siri - Reboot your Mac.
Special thanks to @aaronp613 for this great tip.
